10 Essential Tips for Organizing Your Cable Loom Like a Pro
Creating a well-organized cable loom is essential for maintaining a tidy and efficient workspace or entertainment area. A cable loom, which consists of multiple cables or wires grouped together to prevent tangling and confusion, can significantly enhance both the aesthetic and functionality of your setup. Whether you are dealing with audio-visual equipment, computer components, or various electronic devices, mastering the art of cable management will not only improve accessibility but also extend the lifespan of your cables.
In this guide, we will explore ten essential tips to help you organize your cable loom like a pro. From selecting the right tools to implementing effective bundling techniques, these strategies will empower you to take control of your cables and eliminate clutter. You'll learn how to efficiently route your wires, choose appropriate materials for securing them, and adopt best practices that increase safety and improve your overall workspace. Join us as we delve into practical solutions that transform your cable loom into a model of organization and efficiency.
Importance of Organizing Cable Looms for Safety and Efficiency
Organizing cable looms is crucial for both safety and efficiency in any setting, be it a workspace, an entertainment center, or a technical installation. Disorganized cables can lead to hazardous situations such as tripping hazards, potential electrical fires, or equipment malfunction. When cables are tangled and haphazardly placed, it becomes challenging to identify which cable belongs to which device, leading to increased frustration and potential damage during troubleshooting or repairs. Proper organization minimizes these risks and creates a safer environment for everyone.
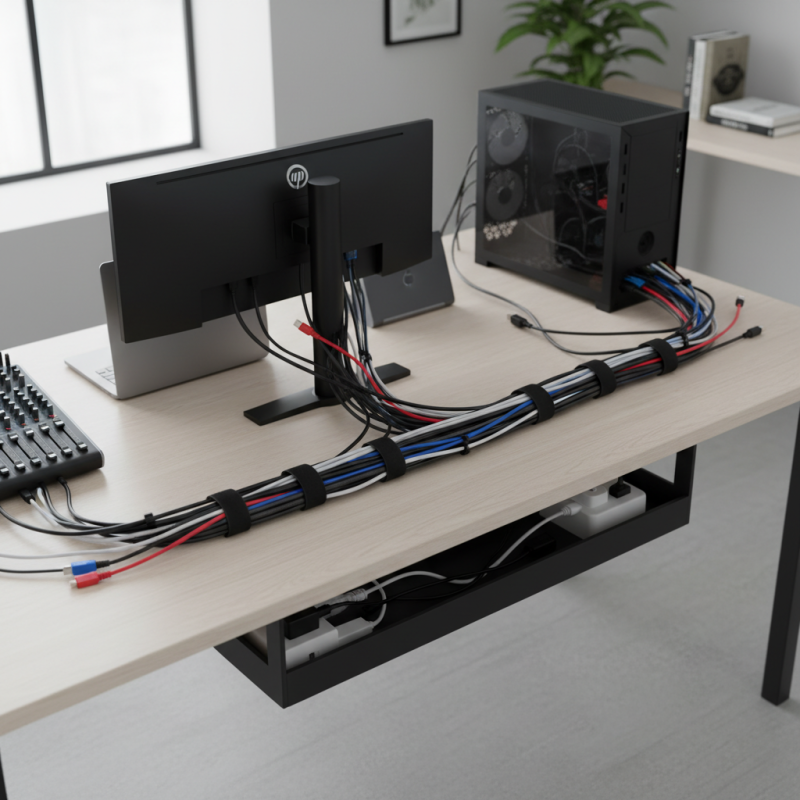
Beyond safety, effective cable management significantly boosts efficiency. When cables are neatly arranged, users can easily access and disconnect them when necessary, facilitating quicker repairs and maintenance. A well-organized cable loom also enhances the overall aesthetics of a space; a tidy appearance not only improves focus and productivity but also fosters a sense of professionalism. In technical environments, streamlined cables contribute to airflow and reduce the risk of overheating, which is essential for maintaining optimal performance in electronic devices. Therefore, taking the time to organize cable looms yields both immediate and long-term benefits in terms of safety and operational efficiency.
10 Essential Tips for Organizing Your Cable Loom Like a Pro
Understanding Different Types of Cable Looms and Their Uses
When it comes to organizing your cable loom, understanding the different types of cable looms and their uses is crucial for achieving a neat and efficient setup.
Cable looms generally fall into three categories: traditional looms, harness looms, and custom-built looms.
Traditional looms are ideal for standard wiring applications, as they provide a structured way to bundle and route cables, reducing the risk of tangling and damage.
These are typically used in residential wiring or basic electronics setups.
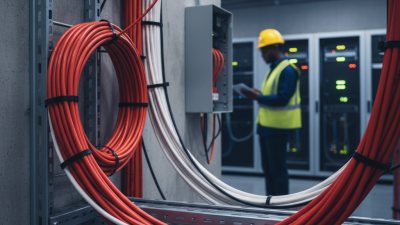
Harness looms, on the other hand, are specially designed for more complex tasks, often found in automotive or industrial applications.
They provide a method for managing multiple cable runs, ensuring that power, data, and signal lines are properly grouped and insulated.
This is vital in environments where cables are subjected to motion or environmental factors.
Lastly, custom-built looms offer the greatest flexibility, allowing you to tailor your organization solution to specific needs or constraints.
By selecting the right type of loom for your project, you can optimize both the aesthetics and functionality of your wiring system.
Best Practices for Measuring and Cutting Cable Lengths Accurately
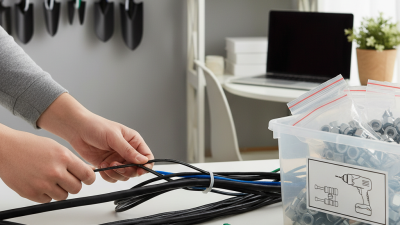
Measuring and cutting cable lengths accurately is crucial for a tidy and efficient cable loom setup. The first step in this process is to determine the exact distance between connection points. Use a flexible measuring tape to gauge the length needed, allowing for a little extra length to accommodate any bends or twists. This precaution will prevent tension on the cables when everything is secured in place.
When you're ready to cut, invest in a quality pair of wire cutters or scissors designed for the material of your cables. This ensures a clean cut without fraying. It’s also important to measure twice before you cut. Lay out the cables side by side to visualize the arrangement and ensure each length will fit seamlessly into your design.
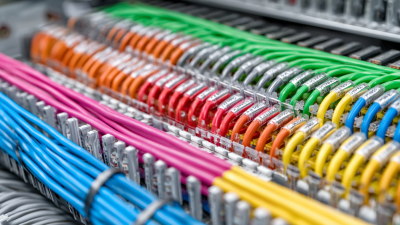
As you work through the organization, label each cable accordingly. Utilizing color-coded labels can streamline the identification process, especially in complex setups. This practice will save you time in troubleshooting and maintenance, allowing you to spot which cable corresponds to each connection quickly. By following these tips, you will achieve a professional-looking cable loom that is both organized and functional.
10 Essential Tips for Organizing Your Cable Loom Like a Pro
| Tip Number |
Tip Description |
Ideal Cable Length Measurement |
Recommended Cutting Tool |
| 1 |
Plan your layout before measuring |
Measure twice for accuracy |
Wire cutters |
| 2 |
Use color-coded cables for easy organization |
Standard lengths of 1m, 2m, 5m |
Cable snips |
| 3 |
Label cables for quick identification |
Lengths as per device requirements |
Label maker |
| 4 |
Avoid excessive tension on cables |
Adapt lengths to prevent strain |
Precision wire cutters |
| 5 |
Use cable ties to bundle cables |
Keep lengths standardized |
Cable tie gun |
| 6 |
Create cable management sleeves |
Custom lengths based on setup |
Scissors |
| 7 |
Separate power and data cables |
Standardized lengths for separation |
Strippers |
| 8 |
Use cable clips or ducts to secure cables |
Fixed lengths as per installation |
Drill |
| 9 |
Test cable lengths with a mock setup |
Optimal lengths determined by testing |
Multimeter |
| 10 |
Regularly review and adjust cable organization |
Length adjustments based on changes |
Utility knife |
Utilizing Cable Management Tools and Accessories Effectively
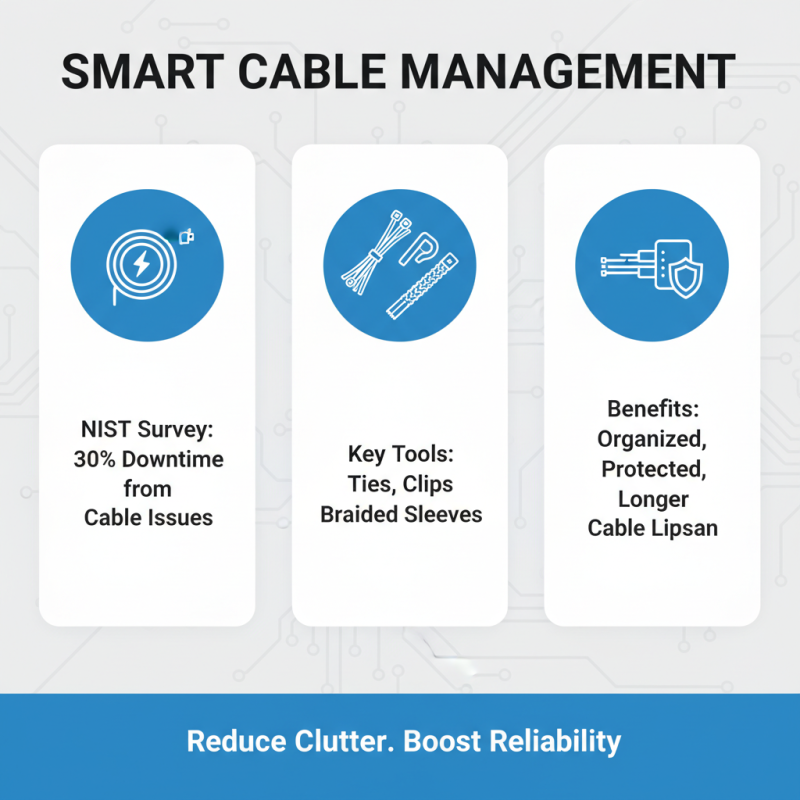
When it comes to organizing your cable loom, utilizing effective cable management tools and accessories is crucial for creating a neat and functional workspace. According to a survey conducted by the National Institute of Standards and Technology (NIST), an estimated 30% of downtime in office environments is attributed to cable-related issues, highlighting the importance of efficient cable management. By incorporating tools such as cable ties, clips, and braided sleeves, users can ensure that cables are not only organized but also protected from damage. These accessories help prevent tangling and wear, which can prolong the lifespan of cables and reduce replacement costs.
Moreover, the choice of cable management solutions can significantly impact productivity. Research from the International Ergonomics Association indicates that a clutter-free workspace can enhance overall efficiency by up to 25%. Key accessories to consider include cable trays and under-desk organizers, which help keep cables out of sight while still accessible. Additionally, using color-coded labels and zip ties can streamline the identification of various cables, making it easier to troubleshoot issues as they arise. By strategically selecting and utilizing these cable management tools, individuals can create a more organized and efficient environment that promotes better workflow and minimizes disruptions.
Periodic Maintenance and Inspection of Cable Looms for Longevity
Regular maintenance and inspection of cable looms are crucial for ensuring their longevity and optimal performance. Over time, dust, moisture, and other contaminants can accumulate, leading to corrosion and potential failures. Establishing a periodic cleaning routine helps in mitigating these risks.
Inspecting the cable connectors and conduits for signs of wear or damage can prevent small issues from escalating into significant problems. Developing a checklist for inspections, including checking for frayed wires and ensuring proper connections, is an effective way to stay organized.
In addition to physical inspections, monitoring the environmental conditions where the cable looms are located can also affect their lifespan. High humidity, extreme temperatures, or exposure to harsh chemicals can all take a toll on the integrity of the cables. By keeping a close eye on these factors and adjusting installation conditions as needed, users can ensure the longevity of their cable looms. Setting a fixed schedule for both inspections and maintenance tasks contributes to a comprehensive approach, ultimately leading to decreased downtime and improved operational efficiency.